In this blog post, I will show you how to create and use AWS CLI profiles and why they are so good.
AWS CLI stands for Amazon Web Services Command Line Interface. It is a unified tool that allows you to manage AWS services and resources through a command-line interface.
With AWS CLI, you can control multiple AWS services from the command line and automate them through scripts. It supports a wide range of AWS services, including EC2, S3, Lambda, and others. AWS CLI is available for Windows, macOS, and Linux operating systems. It is a powerful tool for developers, system administrators, and DevOps engineers who prefer working from a command-line interface.
About Aws CLI Profiles
AWS CLI profiles allow us to manage multiple AWS tenants using AWS CLI without reconfiguring the CLI.
With profiles, you can switch between different AWS accounts and access keys without having to enter credentials every time. This is particularly useful for developers who work with multiple AWS accounts and need to switch between them frequently.
To create an AWS CLI profile, you need to configure it in the AWS CLI configuration file. You can add a profile by specifying the profile name, AWS access key ID, AWS secret access key, and AWS region. Once you have created a profile, you can use it to interact with AWS services and resources.
To use a profile, you can specify it in the AWS CLI command line interface using the –profile option. For example, if you have two profiles, “dev” and “prod”, you can use the following command to switch between them:
aws s3 ls --profile devThis command will list all the S3 buckets in the “dev” profile. Similarly, you can switch to the “prod” profile by specifying the –profile option with the “prod” profile name.
In summary, AWS CLI Profiles are a convenient way to manage multiple AWS accounts and access keys from a single AWS CLI installation. They allow you to switch between different AWS accounts and access keys without having to enter credentials every time.
For example, I can run commands on my Free-tier tenant and on my non-free-tier tenant.
Create and Use an AWS CLI Profile
To get started, I will show you how to create a profile called prod. Open your command-line tool and run the following command:
aws configure --profile prod
After running the command, follow the prompts and enter your account’s secret key and password.
Use a different profile
To use your newly created profile, you type any command and use the –profile switch as shown below
aws s3 ls --profile prod
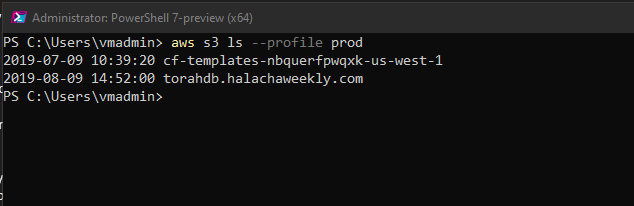
If you don’t use the switch, AWS CLI will use the default configuration which you configured using the aws configure command without the profile option.