In this Windows Server blog post, I will show How To Install OpenSSH On Windows Server 2016 1709.
Note: A new version of this article has been published for Windows Server 2019.
In this article, I’ll show you how to Install the new OpenSSH Server and Client and how I configure the OpenSSH Server on my Windows Server 2016 1709.
I’ll also show you how to use WinSCP and copy files from my Windows 2016 1709 Server using SSH.
How To Install OpenSSH On Windows Server 2016 1709
I’m using Windows Server 2016 1709 on Microsoft Azure to get this thing working.
In my case, I’ll install both Server and client on 1703 and connect to it using WinSCP and SSH from another Windows Server 2016.
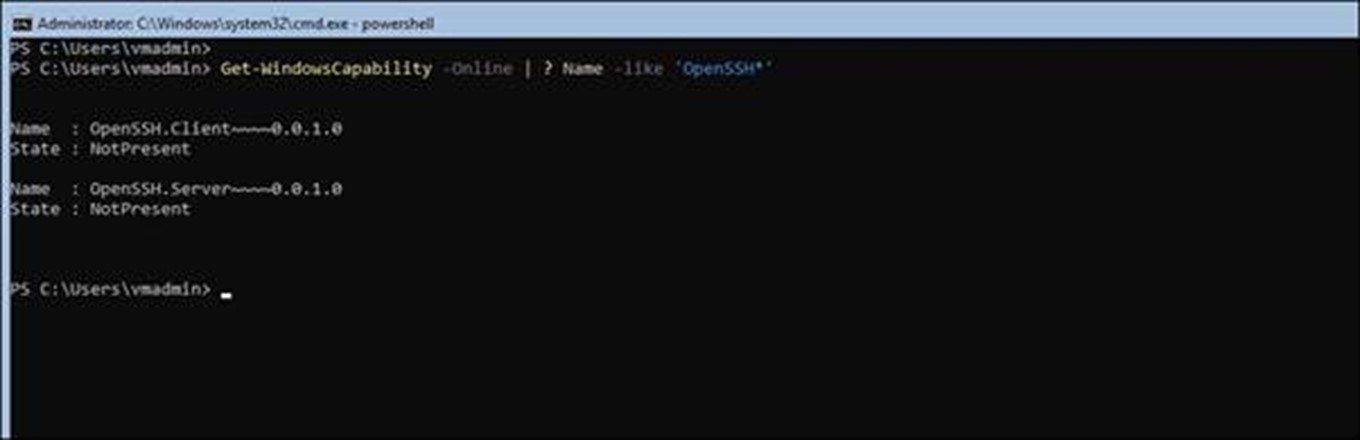
In the line below, I’ll first check that OpenSSH Is not Installed on my Windows 2016 1709 Server.
Get-WindowsCapability -Online | ? Name -like 'OpenSSH*'
As you can see, OpenSSH is not installed, but I’ll go ahead and install it.
Install Client
To install the OpenSSH Client, I’ll use the cmdlet below. If you don’t install the server part, just restart the server when it’s done.
Add-WindowsCapability -Online -Name OpenSSH.Client~~~~0.0.1.0

Install SSH Server
This is the most important part of this post. Using the line below, I’m installing the OpenSSH Server, allowing me to connect to my Windows Server using SSH and copy files using WinSCP.
To Install the OpenSSH Server I’m running the line below.
Add-WindowsCapability -Online -Name OpenSSH.Server~~~~0.0.1.0

Use Client
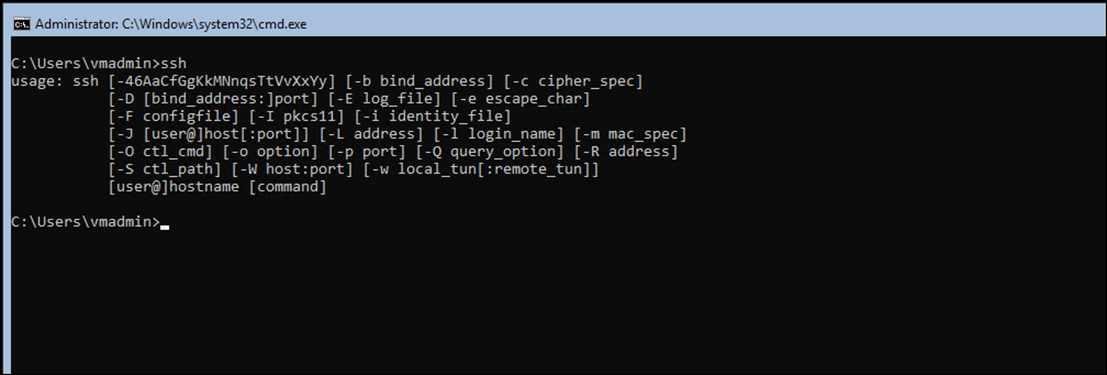
If you are installing the client, just restart the server, and you’ll be ready to connect to another host using SSH using the line below.
Start-service ssh-agent
After I finish with the installation, I will be Install the following services on my server
- OpenSSH Client – SSH-Agent
- OpenSSH Server – sshd
Below, You will see the two Installed Services.
Get-service ssh*

Note – In order for the Server Service to work, I’ll need to configure it first.
Restart-server
Configure SSH Server
To configure the SSH Server to accept the connection, I’ll run the cmdlets below that will create a security key and will allow connections.
cd C:\Windows\System32\OpenSSH

.\ssh-keygen -A

.\ssh-add ssh_host_ed25519_key

Install-Module -Force OpenSSHUtils
Repair-SshdHostKeyPermission -FilePath
Start-Service sshd
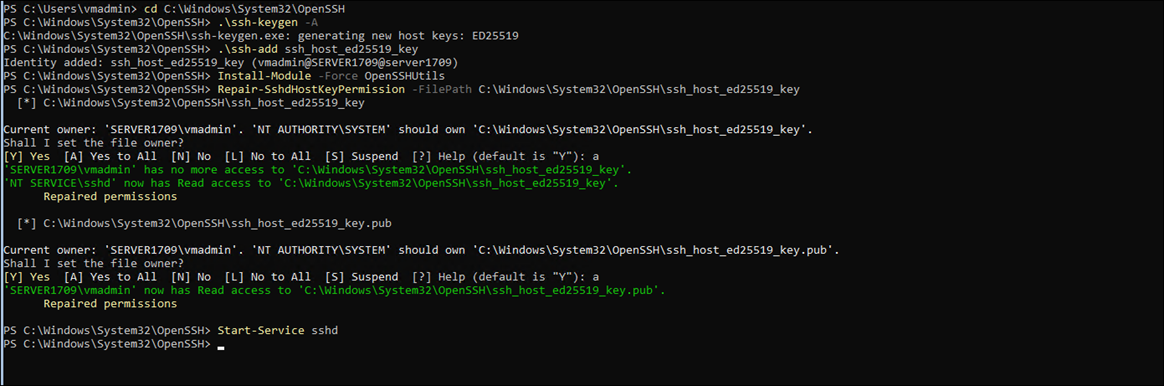
Next, I’ll run the cmdlet below
Install-Module -Force OpenSSHUtils
Repair-SshdHostKeyPermission -FilePath C:\Windows\System32\OpenSSH\ssh_host_ed25519_key

Open Firewall
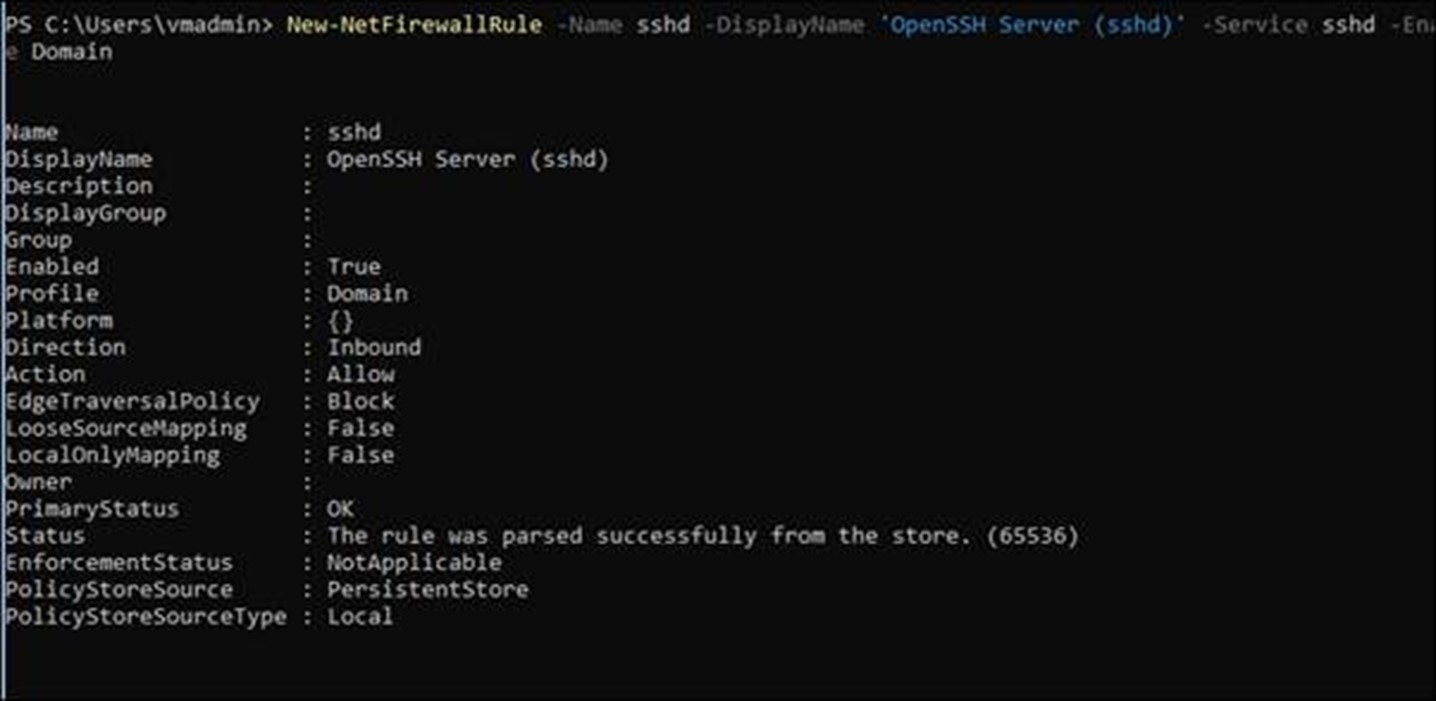
The last part Is to open the Firewall port and allow SSH connections.
New-NetFirewallRule -Name sshd -DisplayName 'OpenSSH Server (sshd)' -Service sshd -Enabled True -Direction Inbound -Protocol TCP -Action Allow -Profile Domain
Connect
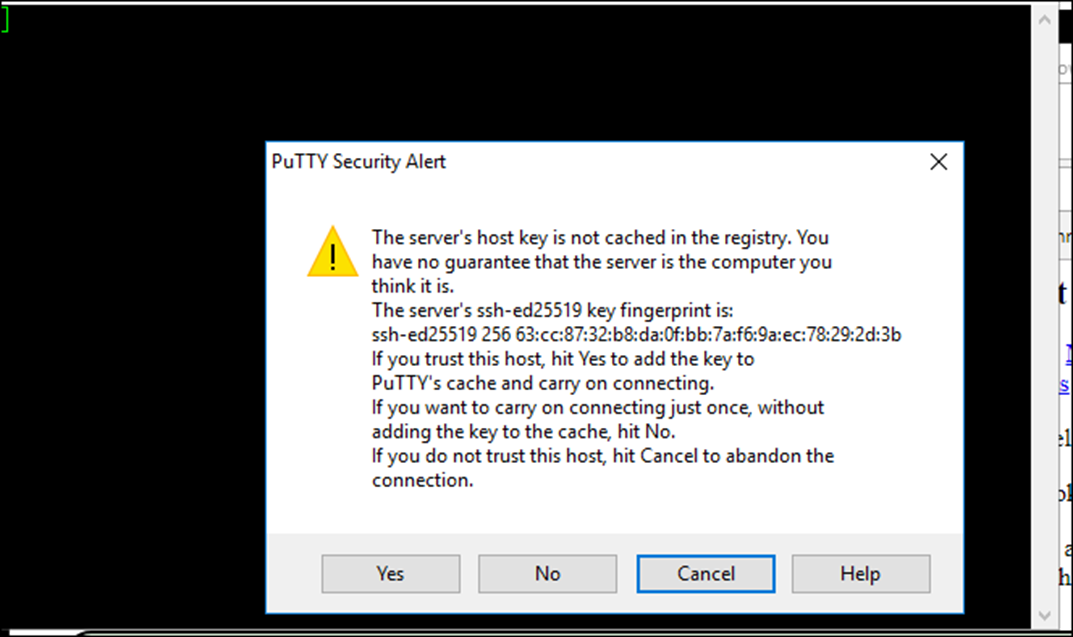
Now that my SSH Server Is up and running, I test it by connecting to it from another server using PuTTY
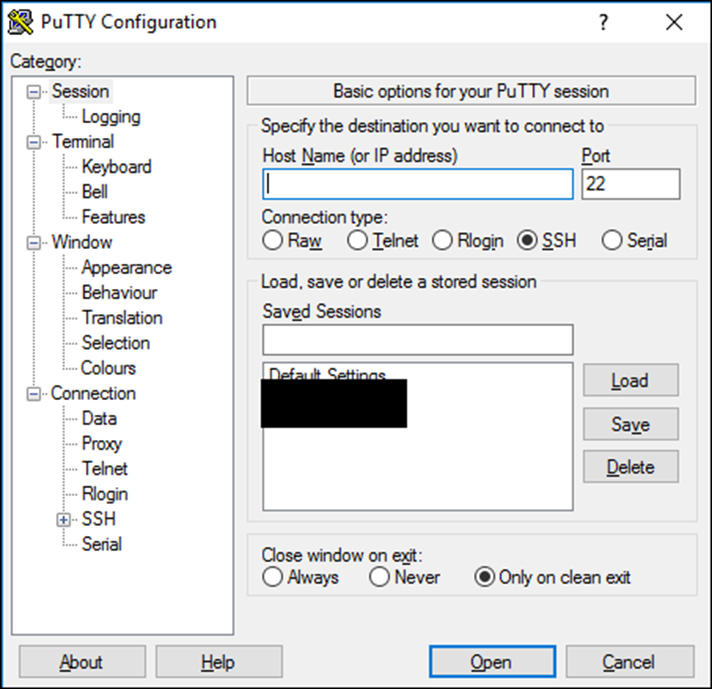
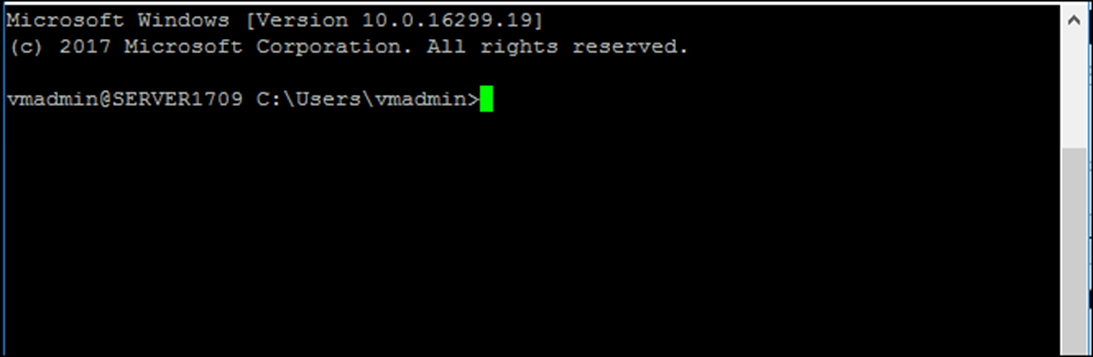
I’ll enter my username and password.


WinSCP
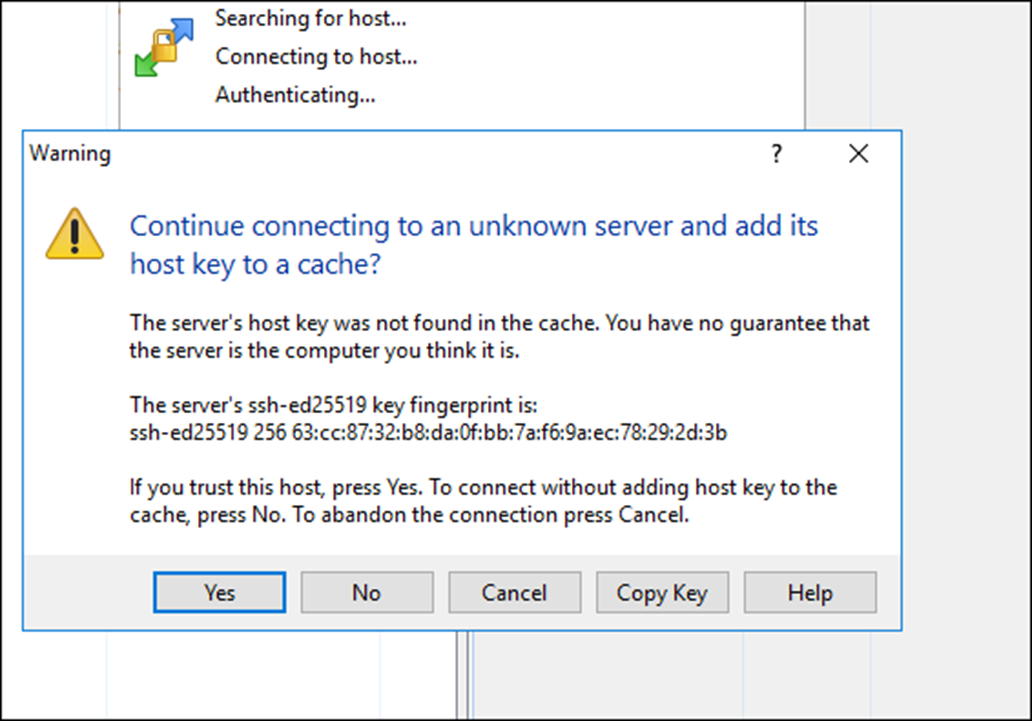
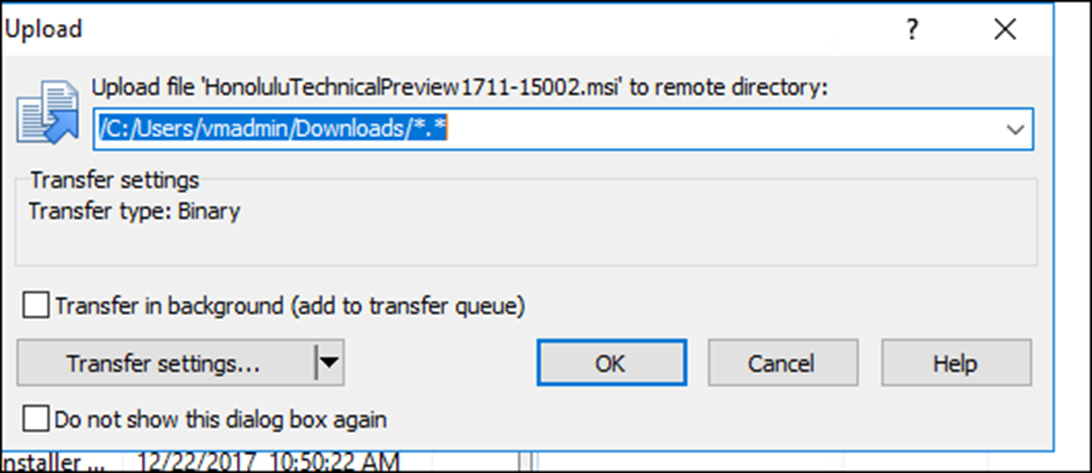
To use WinSCP to copy a file to and from my Windows Server 2016 1709, I’ll download the WinSCP client from the Internet and use it to connect.
All I need to do Is select a file from and copy
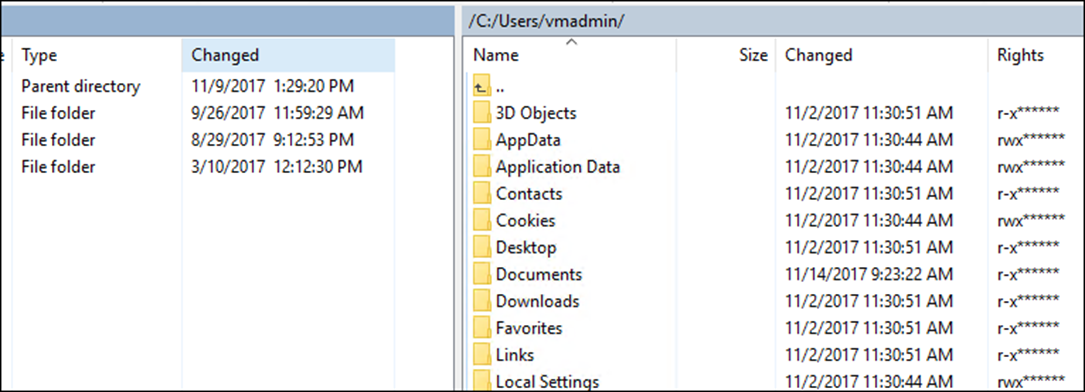
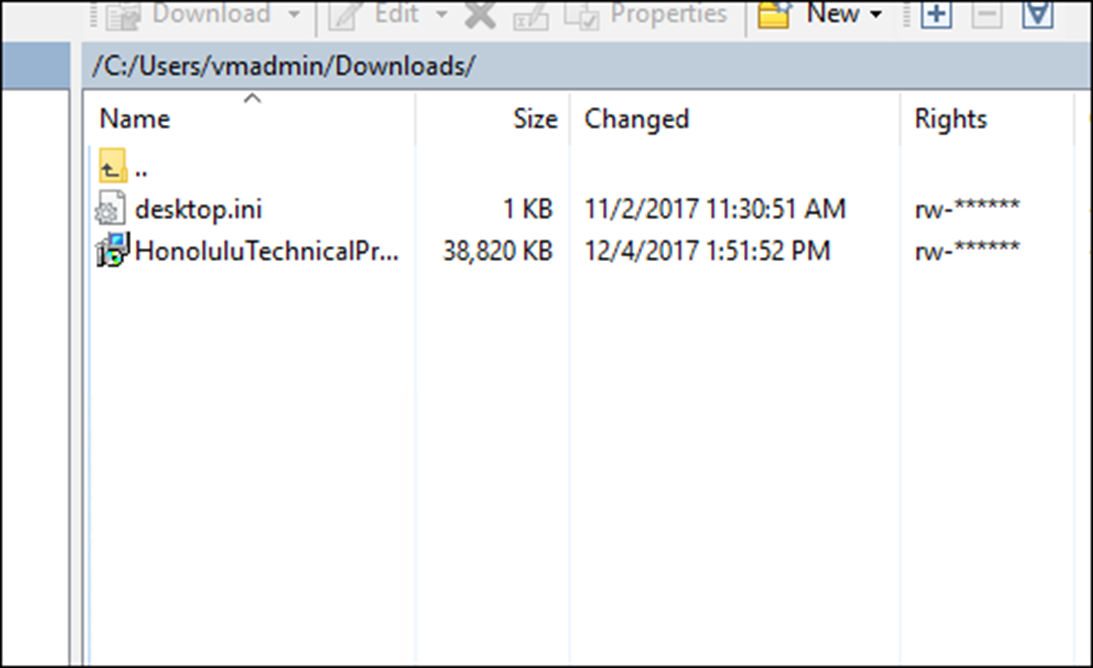
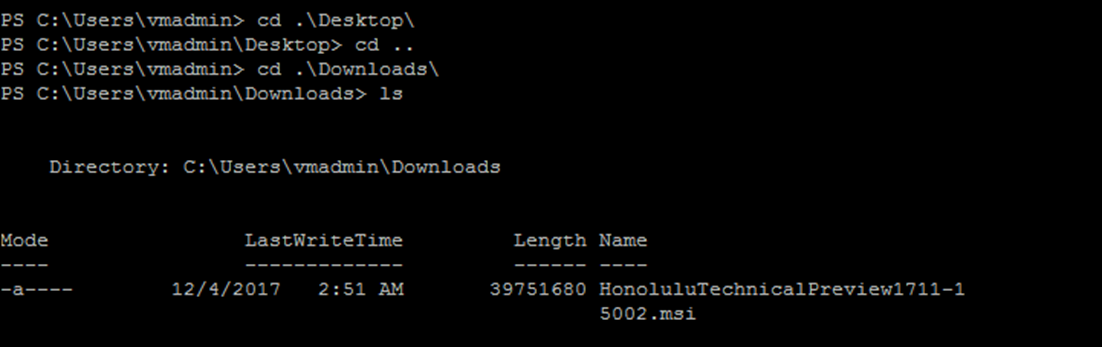
As you can see, the file was copied successfully
I appreciate the effort. Nice try, but it doesn’t work. Fails already at the “Start-Service” step. There isn’t even an ssh* available in my Services list to start with the GUI
Yes, I am running Windows Server 2016
I presume Microsoft removed this as i can’t get any of this to work..
You have to download the Windows Server 1709 version. Windows Server 2016 does not have this feature!
is the document old? the ssh server works but it doesn’t support “authorized_keys”.
I think the latest document should be at https://github.com/PowerShell/Win32-OpenSSH/wiki/Install-Win32-OpenSSH (I am not try)
Didn’t work for me either:
Start-service : Cannot find any service with service name ‘ssh-agent’.
Just verified that this still works great. Fresh install of 1709, ran Windows Update to bring it to current, followed this guide and poof, magic! Thanks for the information!!
Windows 10 has that Beta version Open SSH. Just checking if anyone aware of a Beta version of open SSH on windows 2016 std
With a minor tweak, this worked perfectly for me on a Azure VM running Windows Server 1709. The command to open the firewall for the SSH server to be reached from a public IP needed to have “-Profile Any” at the end, not “-Profile Domain”. Also, the “Restart-server” powershell command did not work but restarting via the Azure portal took care of that step. Don’t know how else I would have gotten a single file uploaded seeing this version of windows server does not come with a GUI and the ftp command doesn’t work either. So thanks very much for sharing!