In this article, I’ll show you how I Install Windows Server Core 2016 on my Hyper-V Nano Server host.
Server Core 2016 was released October 13th, 2016 and can run almost all the Windows Server 2016 Server Roles like
- Active Directory Certificate Services
- Active Directory Domain Services
- DHCP Server
- DNS Server
- File Services
- Active Directory Lightweight Directory Services
- Hyper-V
- Print and Document Services
- Streaming Media Services
- Web Server (including a subset of ASP.NET)
- Windows Server Update Server (WSUS)
- Active Directory Rights Management Server
- Routing and Remote Access Server and the following sub-roles:
- Remote Desktop Services Connection Broker
- Licensing
- Virtualization
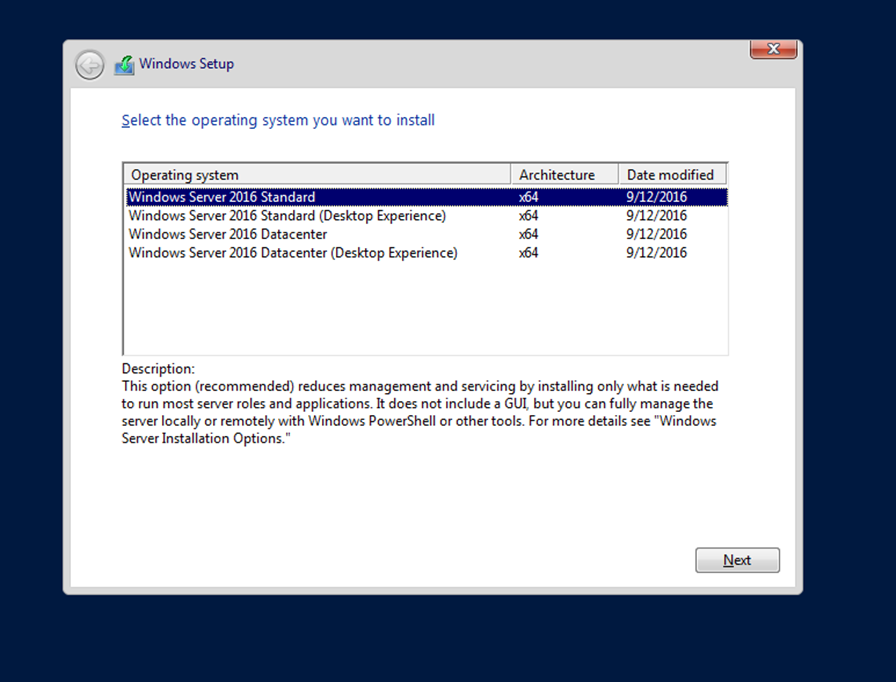
The only difference Between Windows Core And Windows Servers that Server Core doesn’t have any GUI.
With Server 2016 Server Core Is the DEFAULT Installation edition and also the recommended.
By using Server Core you can reduce the Installation disk space, attach surface and servicing cycle.
Server Core can be Managed using:
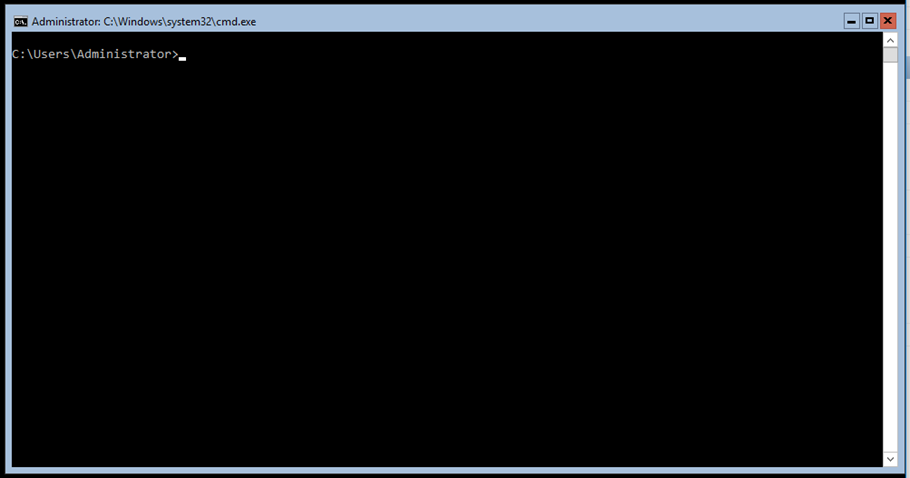
- Command Prompt directory from the Server
- Remote PowerShell
- RSAT Tools
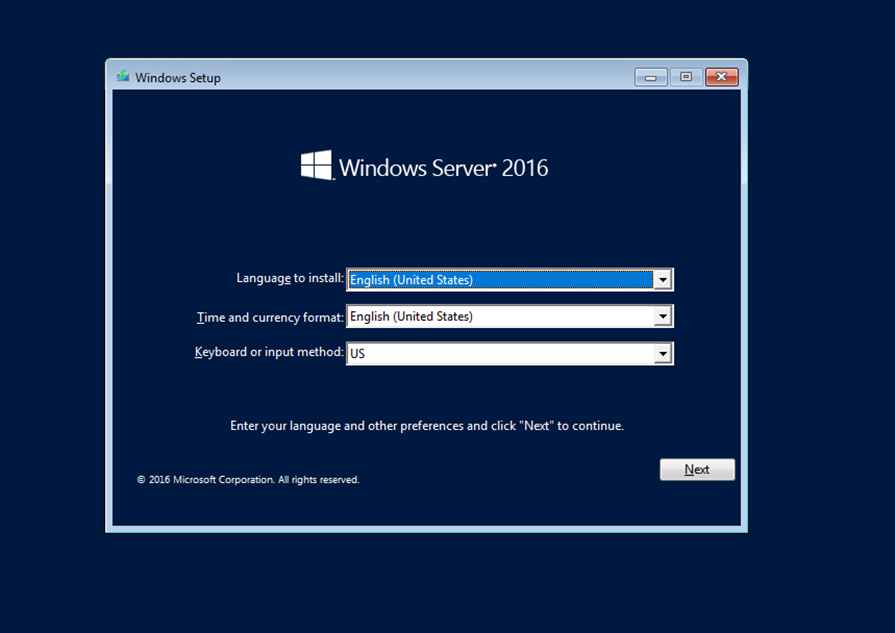
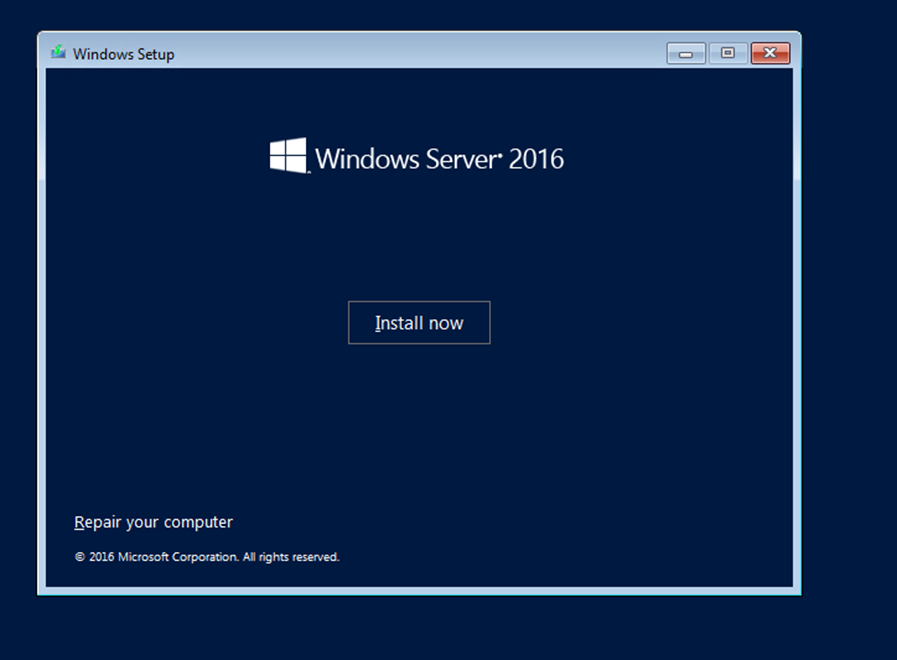
To get started I have download Windows Server 2016 ISO and I started the Installation process:
As you can see below, Server Core Is the default option
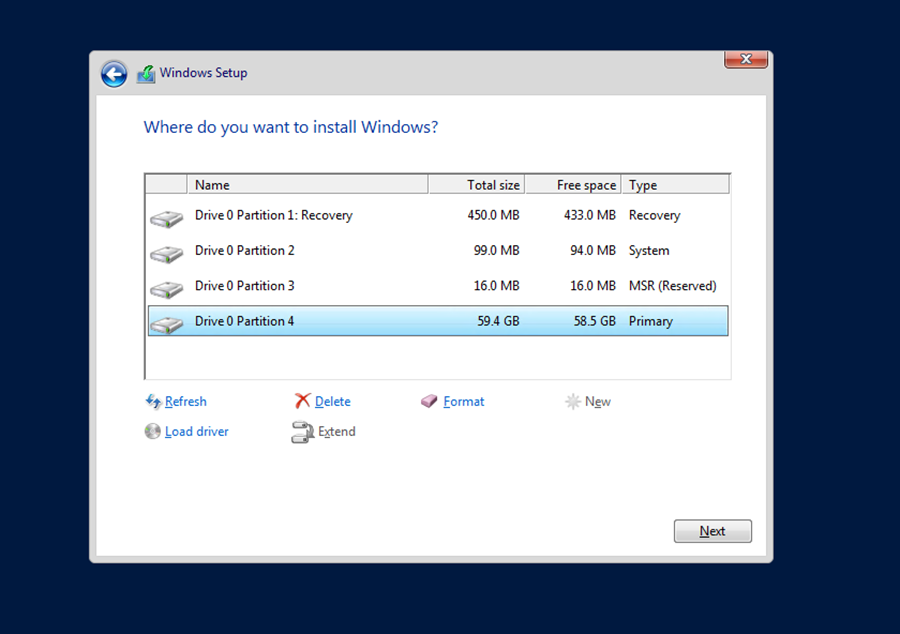
Select Disk to Install Windows

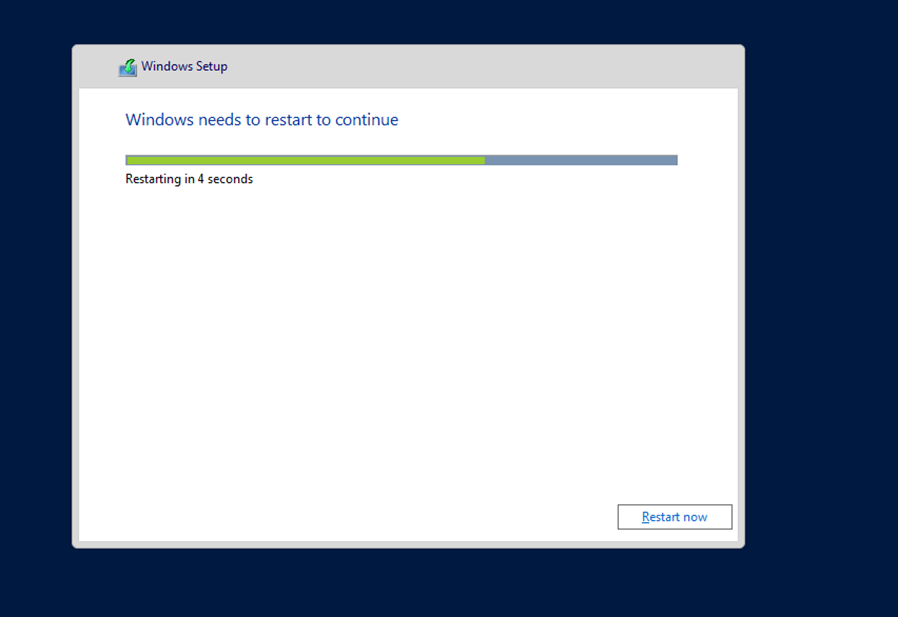
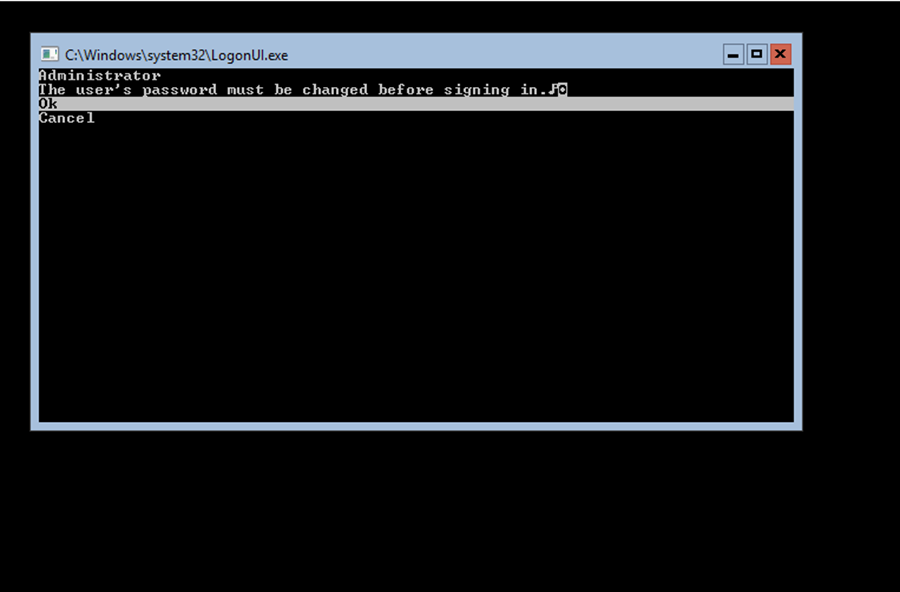
Done, Set the admin password and login