In this Microsoft Azure blog post, I will show you how to encrypt an existing Azure VM disk.
Azure VM Encryption provides a robust layer of security for your virtual machines, safeguarding data at rest and ensuring that sensitive information remains protected under stringent compliance standards.
By leveraging industry-standard encryption algorithms like AES-256, Azure VM Encryption secures both the operating system and data disks.
The process integrates seamlessly with Azure Key Vault, allowing you to manage encryption keys and secrets securely and compliantly.
This feature enhances security and boosts trust, making Azure a preferred choice for enterprises that prioritize data protection. Adopting Azure VM Encryption is straightforward and adds minimal overhead, making it an essential component of any security strategy in the cloud.
How To Encrypt an Existing Azure VM Disks
To encrypt an existing VM, we must create an Azure Key Vault in the same region as our VM. We can create the Key vault at the same time we enable Encryption as you will see.
Encrypt an Existing Azure VM
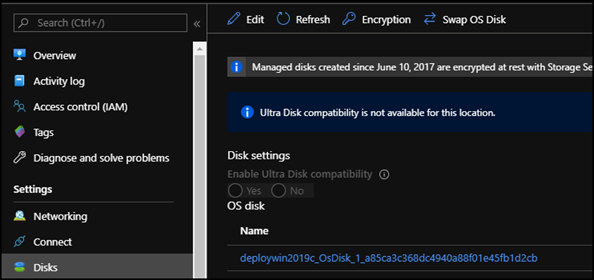
To encrypt my VM, I will open it in the Azure portal and click on Disks. From the disks page, I will click on Encryption.
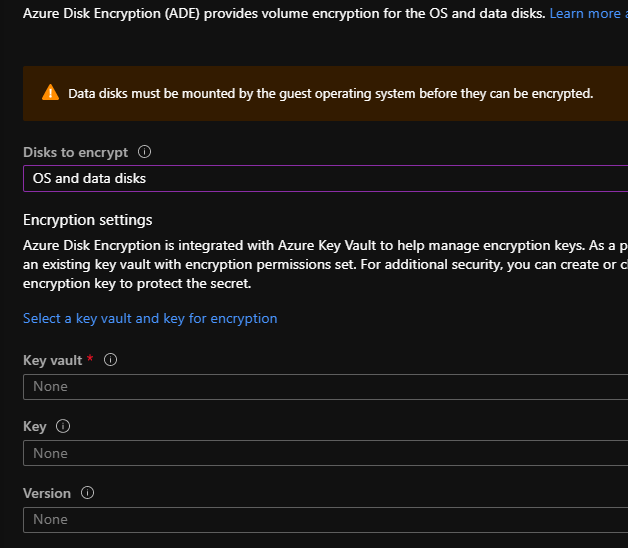
From the encryption screen, I will select the disks I want to encrypt. After selecting the disks, I will click on Select a key vault and key for encryption
From the Key Vault menu, I will create a new Key Vault in the same region.
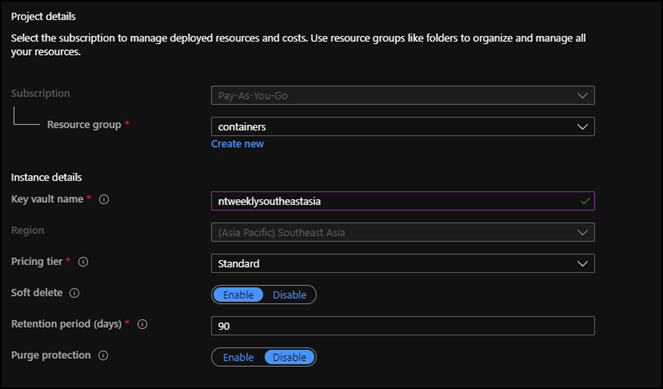
From the create key wizard, I will select the key time.

After I create the key, it will redirect me to the VM encryption menu, as shown below.
After I click Save, Azure will display the message below that the VM will restart.
Check that VM in Encryption
To check that the VM is encrypted, I will click on Disks after the restart and review the value under Encryption.