In this article I’ll show you how to re-size a Virtual machine hard disk using the Microsoft Azure Portal and using Azure PowerShell.
This article follows the article I published earlier this week on how to Add more disk \ volume to an Azure VM.
In my case, I’m going to resize a data disk I attached to my Azure VM using the Portal and using Azure PowerShell.
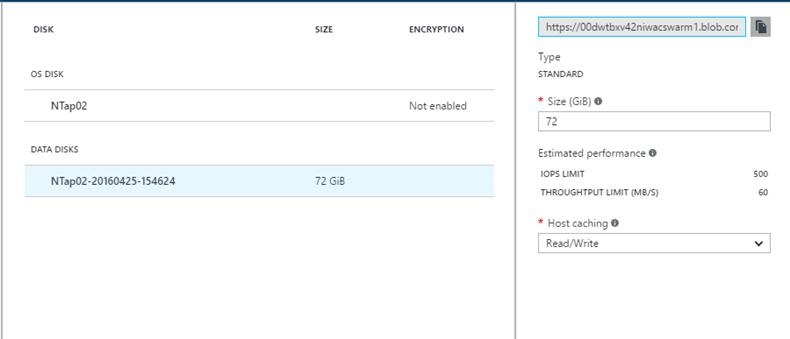
To start I go to the Azure Portal -> Select My VM -> Disks

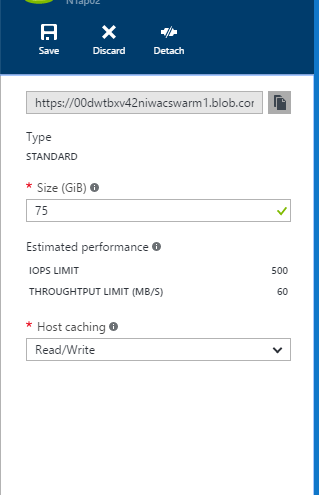
Click on the data disk -> In the Size filed I change the size on the disk.
Note: You can only Increase the size of the disk to a max size of 1023GB.

Click Save

Done

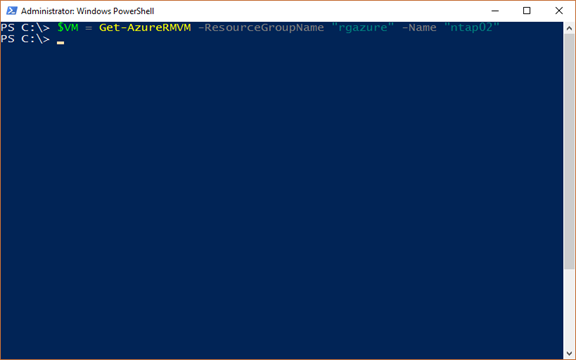
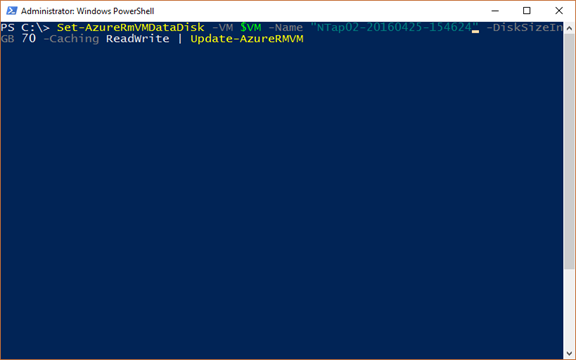
You can also do the same thing using Azure PowerShell code below:
$VM = Get-AzureRMVM -ResourceGroupName "rgazure" -Name "ntap02"

Set-AzureRmVMDataDisk -VM $VM -Name "NTap02-20160423-210223" -DiskSizeInGB 72

-Caching ReadWrite | Update-AzureRMVM


For more Azure articles visit our Azure main page.